
If you’ve ever looked at a jar of bubbling flour-and-water paste and wondered how it turns into bread, you’re not alone. A sourdough starter is just wild yeast and bacteria living in a simple flour-water mixture — but getting one going from scratch trips up a lot of beginners. Here’s exactly how to do it, no special ingredients required.
What a Sourdough Starter Actually Is
Flour naturally carries wild yeast and lactic acid bacteria. When you mix flour with water and leave it at room temperature, these organisms wake up, start feeding on the flour’s starches, and produce carbon dioxide (which makes your bread rise) and organic acids (which give sourdough its tang). Feed that mixture regularly, and it becomes a stable, reusable starter.
What You’ll Need
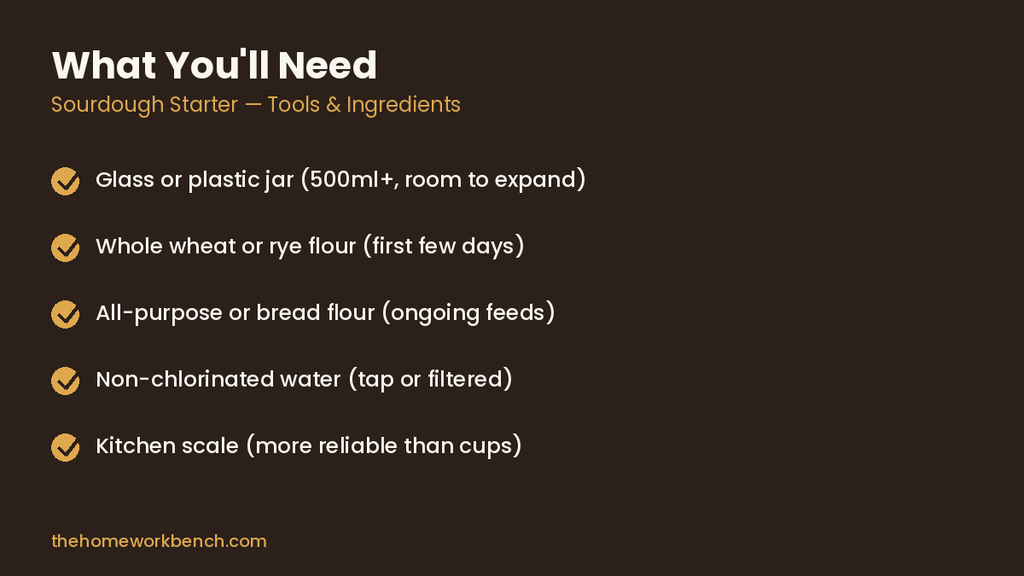
- A clean glass or plastic jar (at least 500ml, with room to expand)
- Whole wheat or rye flour (this speeds up fermentation in the first few days)
- All-purpose or bread flour (for ongoing feeds)
- Non-chlorinated water (tap water left out for an hour, or filtered water)
- A kitchen scale (much more reliable than measuring cups)
Day-by-Day Process
Day 1
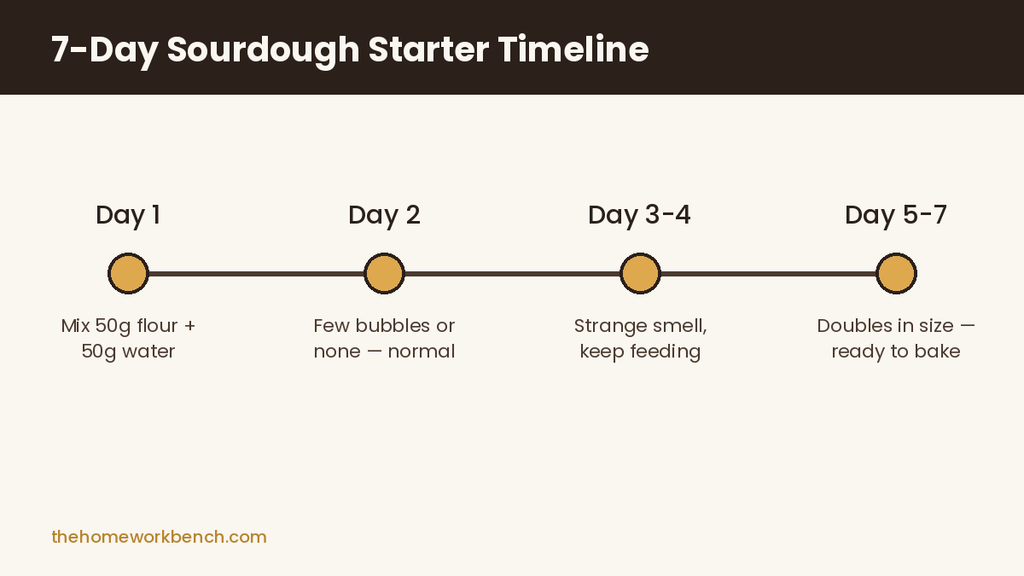
Mix 50g whole wheat flour with 50g water in your jar. Stir until no dry flour remains. Loosely cover (a lid resting on top, not sealed) and leave at room temperature (roughly 21–24°C / 70–75°F) for 24 hours.
Day 2
You may see a few small bubbles — or nothing at all. Both are normal. Discard half the mixture, then add 50g flour and 50g water. Stir and cover again.
Days 3–4
This is often the trickiest stretch. The starter may rise and even smell strange (acetone or vinegar-like odors are normal — this is a natural phase, not spoilage). Continue the same discard-and-feed routine once a day: remove half, add 50g flour and 50g water.
Days 5–7
Your starter should start showing real activity — visible bubbles, a rise after feeding, and a pleasant, slightly tangy smell. Once it reliably doubles in size within 4–8 hours of a feed, it’s ready to bake with.
Signs Your Starter Is Ready
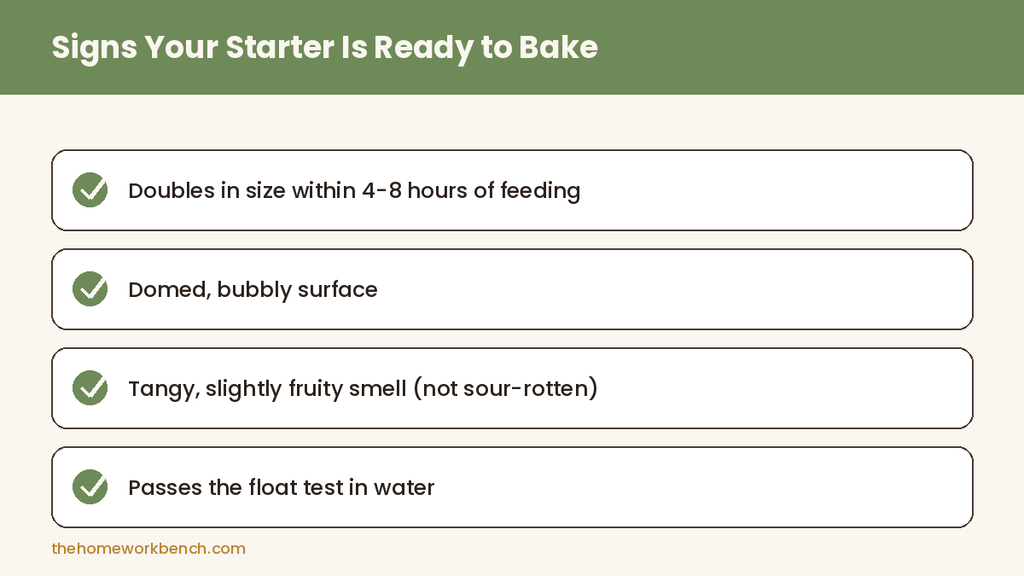
- Doubles in volume within 4–8 hours of feeding
- Domed or bubbly surface
- Smells tangy and slightly fruity or yeasty, not sour-rotten
- Passes the “float test” — a small spoonful dropped in water floats
Common Problems and Fixes
No bubbles after 5 days: Your kitchen may be too cold. Move the jar somewhere warmer (on top of the fridge, inside an oven with just the light on) and switch to whole wheat flour if you haven’t already.
Liquid layer on top (“hooch”): This means your starter is hungry. It’s not ruined — just pour off the liquid (or stir it back in for extra tang) and feed as usual.
Strong alcohol or nail-polish smell: Also a sign of hunger. Feed more frequently, even twice a day if your kitchen is warm.
Mold (fuzzy spots, pink or orange color): This means bacteria or mold contamination, not just fermentation. Unlike the smells above, this is a sign to discard the starter and begin again with a clean jar.
Keeping It Alive Long-Term
Once established, you have two options:
- Baking often (several times a week): Keep the starter at room temperature and feed it once a day.
- Baking occasionally: Store it in the fridge and feed it once a week. Take it out and feed it 1–2 times at room temperature before you plan to bake.
A sourdough starter, cared for properly, can live for years — some bakers maintain starters that are decades old. The first week is genuinely the hardest part; once it’s established, maintaining it becomes routine.
Have questions about a starter that isn’t behaving as expected? Leave a comment below.